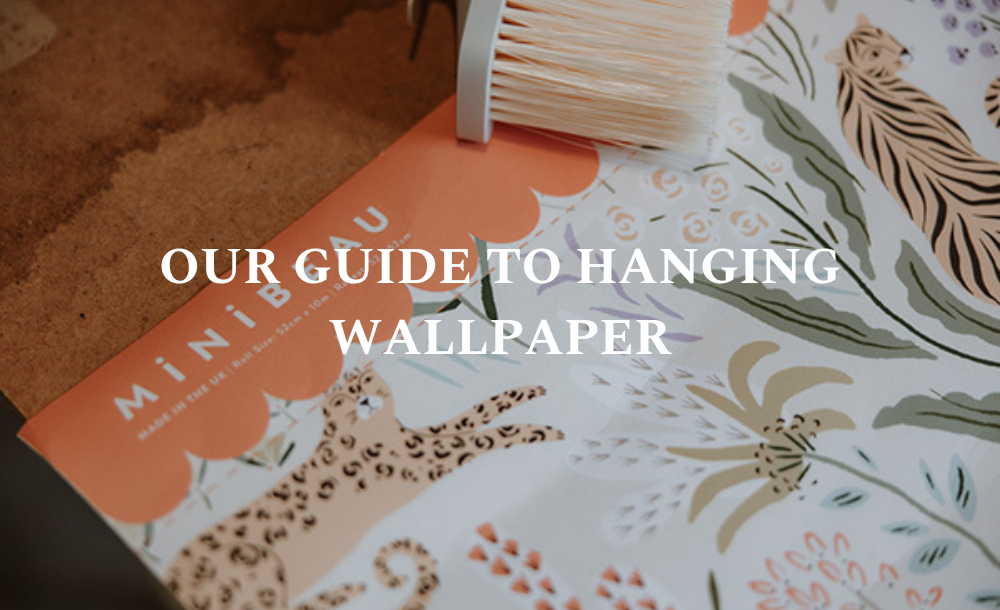
Hanging wallpaper can be a great way to add personality and interest to your home, but it can also be expensive to hire someone else to do it for you. Hanging wallpaper may sound like an intimidating task, but with a little bit of DIY know-how, you can easily hang your own wallpaper – and we’re here to show you how!
Our step-by-step guide will take you through everything you need to know to apply it perfectly. So why not give it a go?
Step 1: Buy your wallpaper
Once you have selected your wallpaper and calculated how much you will need, (see our How to choose the Perfect Wallpaper and our How to Measure Up for Wallpaper blogs if you need a helping hand) you can buy your wallpaper. While you wait for it to arrive, you can move on to steps 2 and 3 to make sure everything is ready for when it arrives.
Step 2: Prepare the walls
Before hanging any wallpaper, your walls should first be properly prepped. As with all decorating projects, preparation is key! Take a good look at your walls - they will need to be clean, dry and as smooth as possible. This will ensure the best possible adhesion and also a smooth finish.
Check that the wall is clean, dry, smooth and dust free, and that any wallpaper or loose paint has been removed. Most walls will benefit from a light sandpaper rub all over and clean to remove any dust, and if you have fresh new walls, they may need to be primed with an oil-based primer to prevent the paste from absorbing straight into the wall, while uneven walls may requiring cross-lining with lining paper.
Once you've done this prep work always allow sufficient time for everything to dry out completely, you'll then be ready for hanging your wallpaper.
Step 3: Grab your supplies
Now you want to gather your tools. Our wallpapers are 'paste the wall' and so you need to apply a high quality ready mixed paste directly to the wall, and not the back of the wallpaper. Self-mix pastes, all-purpose and heavy-duty pastes aren't suitable for hanging this type of wallpaper.
You will need :
Ready mixed wallpaper paste
Tape measure
Level
Sharp knife
Wallpaper paste brush or roller
Roller for the joins
Decorator brush
Clean damp sponge
Small towel...
You will need :
Ready mixed wallpaper paste
Tape measure
Level
Sharp knife
Wallpaper paste brush or roller
Roller for the joins
Decorator brush
Clean damp sponge
Small towel...
...and your wallpaper. When your wallpaper arrives, be sure to inspect each roll carefully, ensuring all batch numbers are the same, and of course, that there are no errors or faults in your paper.
Step 4: Cut your wallpaper into strips
Cut the wallpaper into lengths 10cm longer than your walls height. After cutting the first strip, before cutting the second strip, match the pattern, and cut above this point, leaving excess for trimming.

Step 5: Find your starting point
To find a start point you will need to measure a vertical straight line. As many walls are not perfectly straight we advise you begin the middle of the room and work out. Using a laser level or plumb line you can easily draw a line from ceiling to skirting, and this will be your guide.
Step 5: Apply the paste
Now we can apply your paste evenly across this area, you want to cover just slightly wider than the width of the roll of wallpaper, ensuring that the paste is evenly spread, taking extra care at the top and bottom and around fixtures.
Step 6: Position the first strip
Carefully lift the wallpaper drop to meet the edge to the vertical line from step 5, making sure to leave excess at the top and bottom for trimming. Using a clean decorators brush, smooth out any air bubbles starting from the centre and working out towards the edges, taking care to keep your hands clean to prevent any paste being transferred to the surface of the paper. Use a sharp knife trim to the top and bottom of the paper so it neatly fits onto the wall.
Step 7: Hang the remaining strips
Repeat this process to fit each length, carefully butting them together to line up any repeat pattern. Take extra care to avoid squeezing paste out of the joins, carefully wiping with a damp sponge if any excess occurs. You can use a small roller to help seal the joins for a flawless look.
And that’s it…….now it's time to stand back and admire your hard work!
If you are inspired by how easy this process sounds and want to give it a go yourself, come and browse our wallpaper collection to find the perfect design for your project.