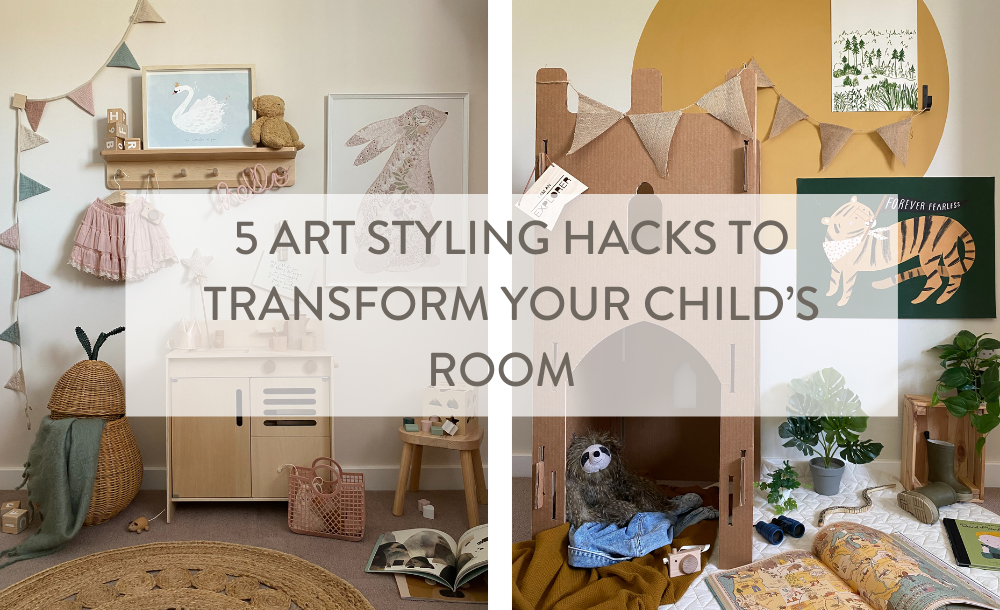
You know that moment when you step into a room, and something just clicks? That perfect balance of personality and functionality? Let's create that for your little one's space using our Minibeau Art Prints! Whether you're styling a nursery, playroom, or even a reading nook, I've got some ideas to make those walls sing. So, grab a coffee - we're about to turn those prints into the focal point they deserve to be.
1. Group Prints Together for Maximum Impact
Gallery walls are such a brilliant way to create a statement. Choose three or more prints from the same collection or mix and match designs with complementary colours. For example, if you're a fan of our whimsical animal prints, group them together to create a mini storybook scene on the wall. This works especially well above a cot, dresser or play table. Take a look at our Gallery Wall Collection or create your own.
Pro Tip: Hang your prints at eye level (for adults) to make them easy to admire. To keep things simple, our solid oak hangers make swapping prints in and out a breeze.
2. Use Art Prints to Define Zones
Kid's rooms are often multitasking spaces - one corner is for reading, another for playing and somewhere in the middle is the chaos of everything else! Art prints are perfect for subtly defining these zones without the need for bulky deviders.
You can create a reading nook, by hanging a calming print or two at child height in a cosy corner. Pair them with soft cushions and an Aykasa crate filled with their favourite books for an inviting space to escape into.
Or create a creative corner and inspire imaginative play with vibrant and interactive prints near a craft table or play kitchen. Add some decorative hooks to the wall to hang their apron and storage baskets to keep everything they need close to hand.
3. Make Art the Star of a Shelf Display
Not every print needs to go on the wall! Prop one up on a picture ledge or shelf alongside complementary decor for a layered look. A stack of storybooks, a Mini Aykasa Crate filled with trinkets, or a wooden toy all add texture and charm while keeping the art as the main focus.
Pro Tip: Rotate the prints and accessories every season or as your child's interests change. It's a simple way to refresh the space without a big commitment.
4. Pair Art Prints with Wallpaper for a Bold Look
Feeling adventurous? Pair one of our giclee-printed art prints with a matching or coordinating wallpaper design, for example, a whimsical woodland animal-themed print against a detailed green wallpaper background. The key here is balance - choose one hero piece and let the other support it.
Pro tip: Use our wallpaper's easy-to-hang and scratch-proof magic to create a feature wall behind the bed or play area. The art prints will pop while the wallpaper ties the look together.

5. Keep it Flexible with Moveable Zones
If you're like me and love to switch things up, keep your zones flexible. Use our tear-resistant height charts as a decorative and practical anchor point, and let the art prints frame the rest of the space. The best part? Our height charts double as a keepsake you'll treasure forever.
A Few Final Touches
Remember, the best rooms tell a story. Choose prints that reflect your child's interests, whether that's animals, adventures or something completely unique. Combine them with well-loved toys, books, and some practical (but gorgeous) pieces from our website, like Aykasa Storage Crates and customisable Arnold and the Caterpillar pennants.
So go ahead - experiment, rearrange, and have fun! And, if you've styled a Minibeau product in your home, tag us in your photos at @minibeau_official. We'd love to see how you've made them your own.
Happy decorating!


